Make a beautiful butterfly card with our Monthly Craft Box
- Read time: 2 minutes
- Written by: admin
What have you made with our latest Monthly Craft Box?
Every month you can have an amazing box of crafting products delivered directly to your door when you subscribe to receive our box of crafty delight, including a different selection of goodies each time!
It’s all about stamps and dies with this month’s box. Inside, you will find over 150 elements which allow you to make a minimum of 20 4.25″ x 5.5″ cards with envelopes to match. The contents of this box include 4 thin metal dies, 20 clear stamps, 20 card blanks, 20 envelopes, 20 paper inserts, 20 sheets of printed paper and 66 sheets of coloured paper!
Design team member Suzi McManus has been inspiring us again with another fabulous creation using a selection of items from this box of goodies!

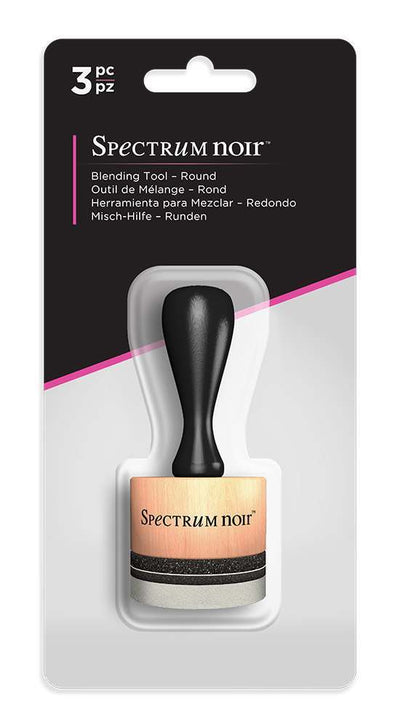
All of the items that Suzi has used come from the latest craft box, with the addition of Spectrum Noir marker (EB3) and Collall Tacky Glue
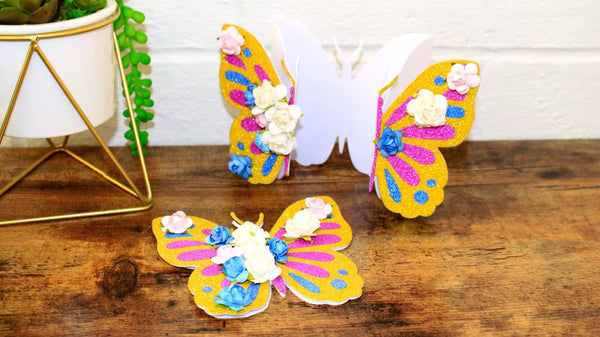
Here’s how to make this beautiful card, proudly displaying this stunning butterfly – simply add your desired sentiment, as this is suitable for so many occasions!
Step 1
Using the outer die from the butterfly die cut once from patterned paper. Save the bottom section to use later.

Step 2
Die cut the inner butterfly from white cardstock, colour front and back using Spectrum Noir EB3.

Step 3
Stamp the rose on the left-hand side of the insert sheets. On the right-hand side, using the leaf stamp, stamp around the edges giving you lovely design around your chosen sentiment.

Step 4
Gather all your elements, assemble your butterfly and cut a piece of the 8×8 pink card to slightly less than your A6 card.
Layer and mount the leftover patterned paper you saved onto white card. Add all these elements to the front of your card.

Step 5
Stamp out your chosen sentiment, matt and layer it, now add to your card.

We love to see your makes! Please share with us on our Facebook page, tag us on Instagram (#crafterscompanion), on Pinterest (@CraftersCompUK) or on Twitter (@CraftersCompUK)