How to make papercraft Christmas Decorations and Pumpkins
- Read time: 6 minutes
- Written by: Crafters
If you're looking for some last-minute autumnal inspiration, or getting prepared for the festive season, then look no further!
Craft your own beautiful decorations and fill your home with handmade warmth and colour with the Gemini Dimensionals Christmas Decorations and pumpkins!
These clever sets invite you to craft your own stunning 3D decorations with cut out patterns ready to illuminate and hang from the tree or fill with treats for the festive season.

How do the die sets work?
Each die set includes dies to build your beautiful ornament, plus additional decorative dies to cut in stunning embellishments and bows.
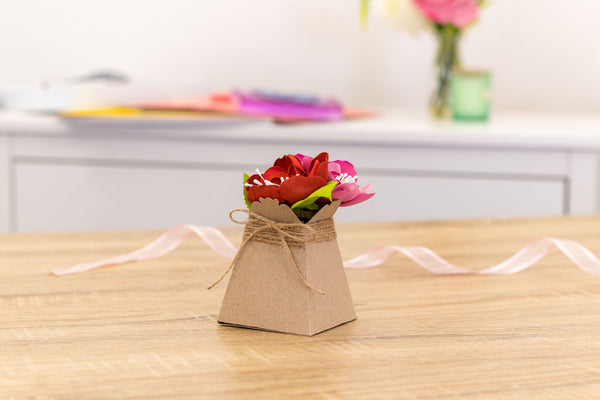
This offers the opportunity to create two designs with each set! Create a Christmas decoration or tiny favour box from solid panels or craft decorations with intricate cut out patterns.

What shapes are available?
There are four die sets to choose from in the Christmas Decorations and Pumpkin Collection.
- The Grande Bauble set includes 6 dies to create a beautiful four-sided decoration with a range of ornate die-cut designs and a sweet bow on top!
- The Winter Opulence pack has 4 dies to create additional beautiful die-cut patterns for your Grande Bauble decoration. Please note, you will need the Grande Bauble set to create your decoration.
- The Elegant Star set includes two dies to create a stunning five-pointed star, with delicate filigree decoration and a hoop ready to be looped with ribbon or twine to hang!
- The Festive Pumpkin set includes 9 dies to create a beautiful and plump 3D pumpkin, with stunning filigree decorations! Perfect for Halloween, Thanksgiving and more!

What can I create with them?
The Gemini Dimensionals Christmas Decoration and Pumpkin collection is designed to be versatile! With the option to create intricate die-cut panels or solid panels, you can make so much.
Here are a few ideas to get started:
- Create the sweetest boxes for your smaller Christmas gifts
- Cover your Christmas tree with beautiful hanging decorations in a range of shades and patterns
- Make a number of decorations and string together to create a beautiful garland
- Fill with LED lights that will glow through the die-cut patterns to for extra festive cheer
- Set your Christmas table with adorable favour boxes filled with seasonal treats!
And there’s no need to limit yourself to the holiday season. Simply pick your favourite card or paperstock and you can craft cute decorations all year round!

How to make Christmas Decorations & Pumpkins
Crafters of all abilities can create their own Christmas decorations this year as these dies are so easy to use and come with step-by-step instructions. We’ve also created a handy guide for each decoration type!
We recommend using a maximum of 230gsm cardstock to make the decorations.

How to Make a Grande Bauble
- First, take the outer panel die and cardstock, create your cutting plate combination and pass through your Gemini Die Cutting machine. Repeat to create two identical pieces – this will form the main panels of your Grande Bauble
- To create a Grande Bauble with die-cut patterned panels, nest the decorative die inside the panel die before cutting out your pieces
- Fold and burnish the tabs
- To make your bow, take the smaller panel die and cardstock create your cutting plate combination and pass it through your Gemini Die Cutting machine. Repeat to create two identical pieces.

- To assemble the bauble overlay the two main panel pieces and insert a brad as shown in the image
- Now, add adhesive to the side tabs and bring the panels together leaving one side unsecured

- Take one of the smaller bow pieces and cut to make the ribbon section of your bow as shown in the image

- Next, fold your larger bow piece and using a brad piece through the bow and ribbon section to create a bow just like in the picture
- Place the bow’s brad through the open loops of your bauble and secure. If you want to put anything inside your bauble now’s the time
- Finally, adhere the final tab together and you’re done!

How to make an Elegant Star
- First, take the outer panel die and cardstock, create your cutting plate combination and pass through your Gemini Die Cutting machine. Repeat to create two identical pieces
- To create an Elegant Star with die-cut patterned panels, nest the decorative die inside the outer panel die before cutting out your pieces
- Next, fold and burnish the score lines and add adhesive to each of the tabs
- Finally, secure the two die-cut pieces together back to back -ensuring the loops at the top line up
- You’re done! We said it was simple!

How to make a Festive Pumpkin
- First, take the three side panel dies and cardstock, create your cutting plate combination and pass through your Gemini Die Cutting machine. Repeat four times to create 12 die-cut panels
- To create a Festive Pumpkin with die-cut patterned panels, nest the decorative die inside the panel die before cutting out your pieces
- Fold and burnish the tabs on each panel
- Take the circular base die and cardstock, create your cutting plate combination and pass through your Gemini Die Cutting machine. This piece will form the top of your pumpkin
- Next, add the nested die to the circular base die. Take your cardstock, create your cutting plate combination and pass through your Gemini Die Cutting machine. This piece will form the bottom of your pumpkin
- Add adhesive to the top tabs of your side panel pieces and stick to the reverse of the top panel piece as shown in the picture. Repeat around the top panel piece until all of the side panels are attached
- Now, turn over and add adhesive to the back of the bottom tabs of your side panels. Attach to the reverse side of the base piece. Repeat to build your pumpkin shape
- Take the stalk die and cardstock, create your cutting plate combination and pass through your Gemini Die Cutting machine. Attach to the top of your pumpkin for a final flourish!

We can’t wait to see what you make with the Gemini Dimensionals Christmas Decoration and Pumpkin Collection!
For exciting launches, tutorials and more, be sure to follow us on Facebook, Instagram, LinkedIn, or TikTok . Don’t forget to share your creations with us by tagging us and using the hashtag #crafterscompanion.