Create your own wedding buttonholes
- Read time: 4 minutes
- Written by: Crafter's Companion
Whether you’re planning a wedding on a budget or looking to add a personal touch to your wedding decorations, creating your own floral buttonholes for guests is the perfect place to start.
Wedding buttonholes, also known as a boutonniere, are a brilliant way to include your main wedding party and differentiate them from other guests, without them having to hold bouquets. Often seen as a smaller version of the bride’s floral bouquet, they’re ideal for the groom, best man, ushers, father of the bride, and more.

Why not make your own and give them a more personal touch? Buttonholes don’t need to be boring! You can add absolutely anything to them to make your wedding day complete.
Follow our guide below to create your own.
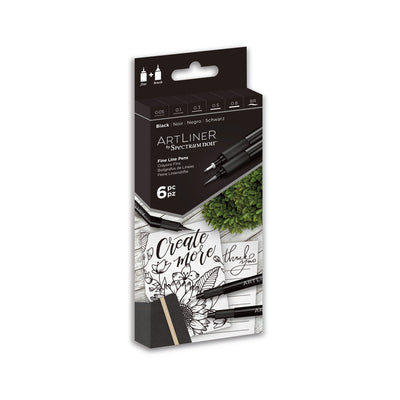
Materials
We’ve used the following materials to create our buttonhole, but you can use any to suit your preferences or theme.
- Flower forming foam
- Flower forming dies – We’ve used Delicate Crocus
- Guillotine
- Gemini mini
- Tweezers
- Iron
- Flower Forming Ball Tools
- Pokey tool
- Stamens
- Jewellery/Florist wire
- Hot glue gun
- Safety Pin
Getting started
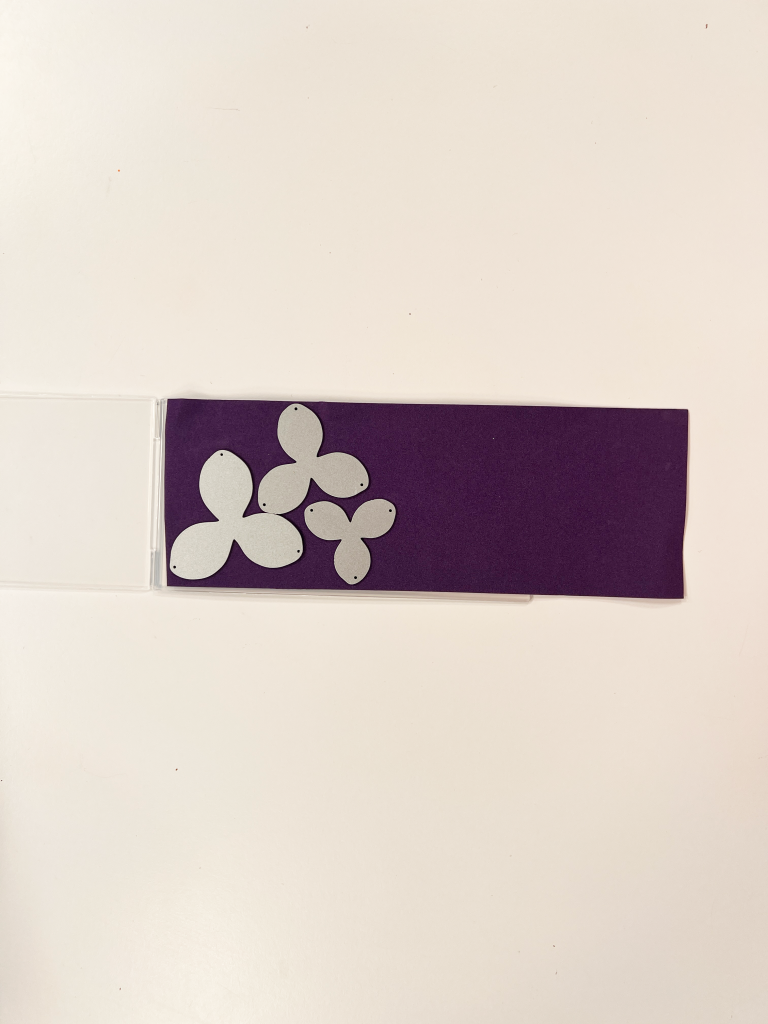
Cut some strips of flower forming foam in your main flower colour and lay your flower forming dies on your foam strips.
Run these through your Gemini machine. Repeat this process until you have two large, four medium and five small flowers cut out.


Take your iron, turn it on to the highest heat then take one of the petals with a pair of tweezers and hold it against the plate of the iron for about five seconds or until the petals bubble up. The longer you hold it on the iron the more the petals will bubble up
Drop the petal onto your foam mat and then take your ball moulding tool and gently roll the tool into each of the petals.


Take a contrasting colour of foam and cut out two or three foam stamens depending on preference
Start with the smallest cut out you have, whether that be stamens or the smallest petal and pierce the centre with a pokey tool. Stack all the pieces on the end of the pokey tool from smallest to largest.


Take your stamens and wrap some jewellery wire around the centre of the stamens. Twist the wire to secure them in place.
Take the wire end of the stamens and put through the stack of the flower foam pieces through the hole created by the pokey tool.
Turn over the flower and add some hot glue to the base to secure the stamens in place. Once this has dried cut off any excess from the stamens


Take some green flower forming foam and cut some pieces of foliage out. Attach the foliage to the bottom of the flower.
Repeat the process for the smaller flower using two foam stamens (if desired), three small petals and two medium petals. Add a piece of foliage to the bottom.


Take a complementary colour of foam and cut out some of the two medium and four small petals.
Just like the first flowers take each petal, heat it on the iron and roll the ball moulding tool over it. Build it up with one medium and two small petals for each flower. Add the stamens to the centre.
Arrange the four flowers in a formation that you like and secure them together with hot glue.


Take a safety pin and, using hot glue, attach it to the back of the flowers.

Your buttonhole is now complete and ready to be worn! Repeat the steps to create enough for your wedding party.
We love seeing your crafty creations! Share your wedding crafts with us on Social Media using the hashtag #crafterscompanion or tag us on Facebook, Instagram, LinkedIn, or TikTok!