How to use embossing powder
- Read time: 3 minutes
- Written by: Crafter's Companion
Have you ever seen embossing powder but haven’t been sure how to use it? Whether you’re a crafting beginner or an expert, trying new products can be daunting!
Embossing Powder is a brilliant way to add dimension to your project, highlighting areas that may go unnoticed and adding a shimmer to any area.
We’ve put together a step-by-step guide showing you how to create a beautiful floral celebration card and exactly how to use embossing powder, so you’ll never be stuck again.
Follow our guide below to get started.

We’ve used the following materials, but these can be changed depending on your project or preferences.
- Crafter’s Companion Have a Lovely Day Stamp Set
- Sara Signature Garden Party Celebrate Die Set
- Gemini Scallop Edge Rectangle Frames Die Set
- Spectrum Noir Aqua Pens in Kingfisher, Leaf Green, and Wildflower
- Spectrum Noir Translucent Clear Watermark Ink Pad
- White Embossing Powder
- Clear Embossing Powder
- Watercolour Card
- Multi-Purpose Card
- Purple Card
- Collall All-Purpose Glue
- Collall Tacky Glue
- Foam Pads/Tape – 3mm Depth
- Crafters Companion Heat Tool
- Gemini Die Cutting and Embossing Machine
Getting Started
Cut a piece of multi-purpose card to 11 ½” x 7 ¾”, and score at 5 ¾” to create your card base.
Mat a 5 ½” x 7 ½” piece of purple card onto the centre of the card base.
Trim a piece of watercolour card to 4 ½” x 6 ½”.
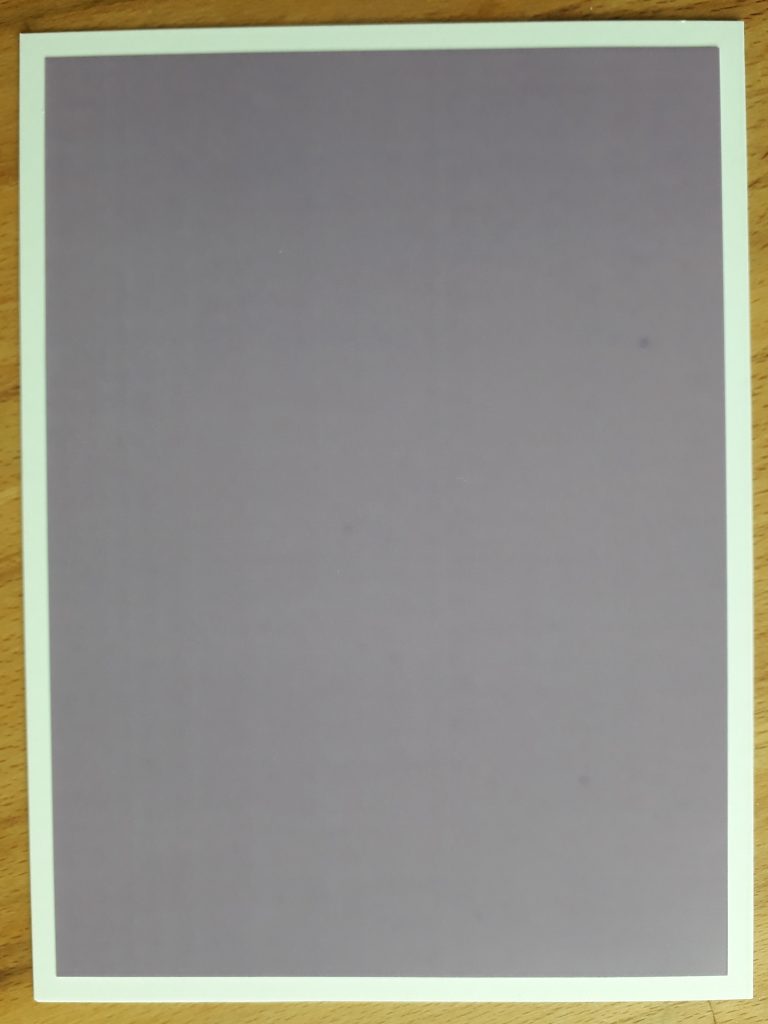
Using a watermark inkpad, stamp roses in the top-left and bottom-right corners.
Sprinkle white embossing powder over the stamped images, gently tap off the excess and then heat using a heat tool to melt the powder. The images will be difficult to see at this stage as it’s white on white, but they will appear once colour is added in the next stage!

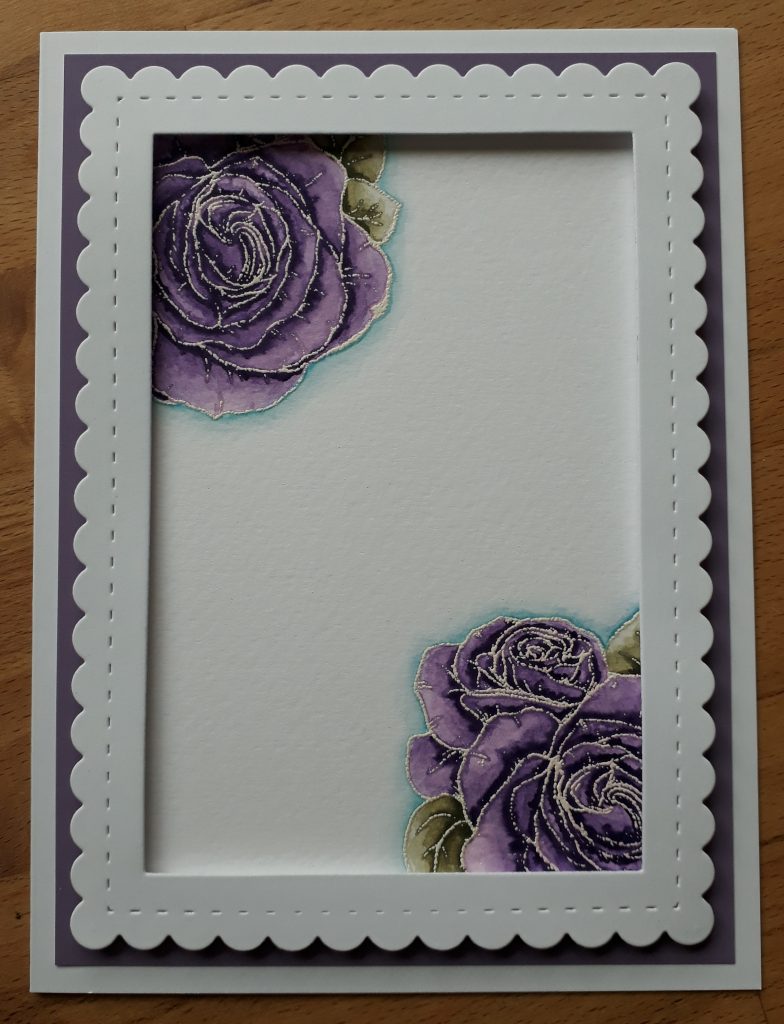
Watercolour the images using Aqua Pens. We’d recommend colours Wildflower for the roses, Leaf Green for the leaves, and Kingfisher around the edges of the stamped image. The embossed line will act as a resist, leaving the linework white.

Glue this panel to the centre of the purple mat on the card base.
Die-cut a frame from a sheet of multi-purpose card and adhere it over the stamped panel using foam tape.
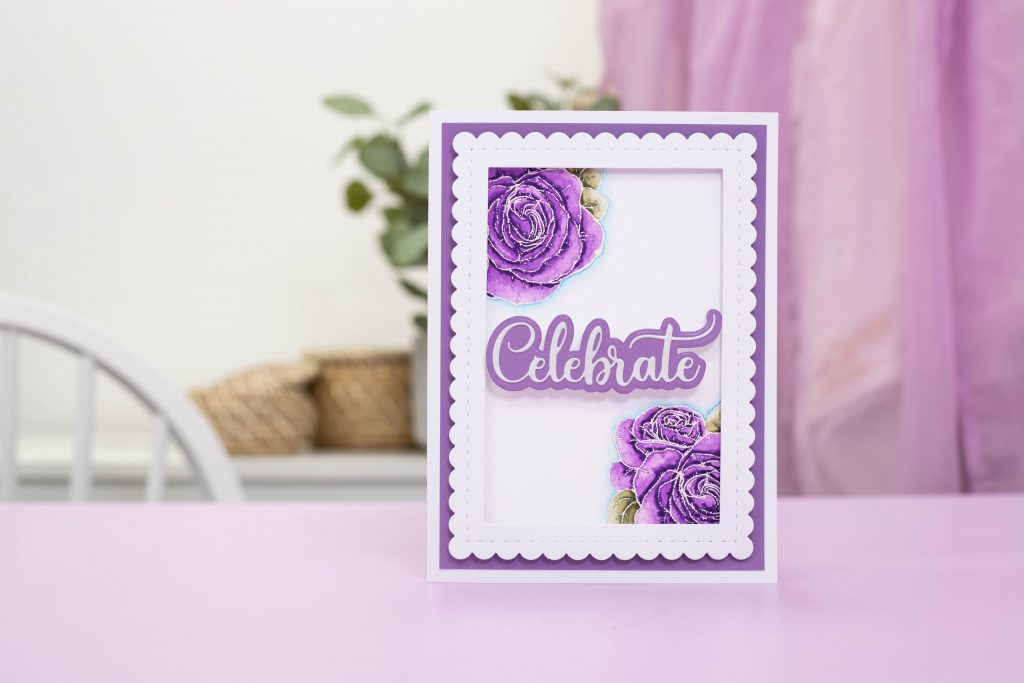
Die-cut the word Celebrate from a piece of multi-purpose card. Apply the watermark inkpad to the die-cut piece to fully coat it with ink. The easiest way to do this is to squidge the ink pad all over the die-cut.

Sprinkle Clear Embossing Powder all over this and heat using a heat tool. Repeat 3 times so you end up with a triple layer of embossing powder – this will give shine, dimension, and strength to the delicate sentiment.
Die-cut the mat from purple card and glue the triple embossed sentiment onto this. Use a double layer of foam pads to adhere to the centre of the card base.
Your card is now complete.
Looking for more inspiration or help with embossing? Check out our Embossing Folders Starter Skills video below from Crafter’s TV.
We love seeing your final creations! Share with us on Social Media using the hashtag #crafterscompanion or tag us on Facebook, Instagram, LinkedIn, or TikTok!