Colour and blend a beautiful water lily with alcohol markers
- Read time: 4 minutes
- Written by: Crafters
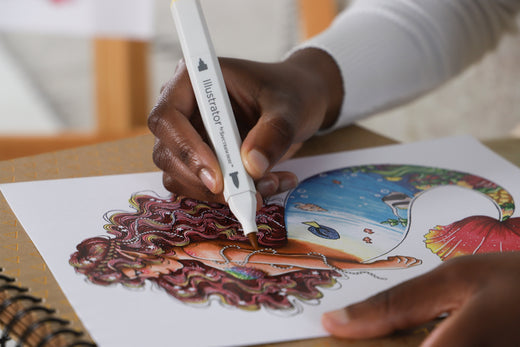
Unlock a whole world of artistic creativity with markers! From subtle shading and seamless blends of colour to delicate detail and expressive texture – you can do it all with just a few alcohol markers!
Learn how to use Spectrum Noir Classique and Illustrator Alcohol Markers to their full potential with this easy to follow step-by-step guide. Using a stunning water lily illustration from artist Tatiana Kuvaldina we’ll show you how to layer colours to create a gradation of shade, blend colours together and use the dual-nibs to create different effects.

Once you’ve mastered just a few simple techniques, you’ll be amazed at how much more realistic and dimensional your colouring work will become! Why not expand your repertoire and continue your creative journey with a Spectrum Noir Discovery Kit, filled with curated markers, original line-art and tutorials?
You will need:
- Water Lily line drawing by Tatiana Kuvaldina – download it here
Everything you need, alongside more markers and printed line-art sheets to create even more beautiful blended artwork from Tatiana is included in the Art of Illustration Advanced Discovery Kit.

Step 1
Begin by colouring the smallest front petal with a Cocktail Pink Illustrator Marker (PP6), leaving some white showing at the base. Next, add just a touch of the same colour to the tops of the other petals as shown in the image. Take an Illustrator Marker in Baby Pink (PP2) and brush in the lighter pink colour using downward strokes. Use a gentle flicking motion with less pressure at the end of each stroke to soften the colour into the white sections at the bottom of each petal.

Step 2
Next, use a Classique Marker in Heather (HB3) all over the darkes petal to deepen the shadows. Next, add the same colour over the top of the Cocktail Pink sections of the other petals. Use an Illustrator Marker in Sorbet (PV1) to build further shade and texture on the other petals, using flicks to follow and emphasis the shape of each petal as shown in the image.

Step 3
For this step, use the fine nib of the Sorbet Illustrator Marker to draw in the detail on the small petal. The lighter colour of the Sorbet marker will dissolve away the darker Cocktail Pink colour to create highlights. Now, add texture to the other petals using Cocktail Pink, softening by layering with the Sorbet marker as shown below.

Step 4
Continue to add detail with the fine nib of your Baby Pink Illustrator Marker. Cluster lines together to form texture and follow the form of each petal to help define its shape. Then, add more lines using the Sorbet Illustrator Marker using the same technique. Remember to leave some areas white for the most extreme highlights.

Step 5
Time to colour the stem of your waterlily! Use a Classique Marker in Caribbean (AB3) to create a base colour, add shadows to the edges by layering with the Heather Classique Marker (HB3). Next add a layer of Caribbean on top to blend the two colours together. Repeat this technique to the white section at the bottom of the small petal and the stem of the bud.

Step 6
Now for the little bud, apply a base layer of Baby Pink to the top section, add shade to the edges and bottom with Cocktail Pink and layer up to create a gradated shade from the base to the top of the pink section. For the purple section repeat the same process using Sorbet as the base layer and Heather to add shadow and create a gradient. As a final touch, use the fine nib of your Cocktail Pink and Caribbean Classique Markers to add dots of texture.

Step 7
As a finishing touch, scatter dots in different sizes across the petals. Use Baby Pink in the white areas, Cocktail Pink over the coloured areas and Heather over the very darkest sections.

We can’t wait to see your stunning alcohol marker artwork! So, make sure you share your project photos with us on Facebook UK, Facebook USA, Twitter, Instagram UK, Instagram US, Pinterest UK or Pinterest US using the hashtag #crafterscompanion


