How to use the Precious Memories Spine Die
- Read time: 5 minutes
- Written by: Crafters
One of the most exciting launches of Birthday Week is finally here – the Precious Memories Collection! We’ve been totally loving this set of dies behind the scenes and exploring the fun interactive effects that they can achieve, and we just know that you’re going to love them too. They’ve been designed to help you create memory books with a little bit more personality and pages that just grab your attention.
At a glance, it’s easy to think that these dies would be complicated to use, but we’re here to show you that that simply isn’t the case! We’ll be releasing a whole load of projects to show you the types of pages that you can create, but for this introduction to the range, we thought we’d show you how to use the Spine Die.
The Spine Die is an essential tool that has been perfectly crafted to combine all of your pages into one book, so it’s crucial to know how it works! Take a look at the step-by-step below, and check out the rest of the post for a bit more memory book inspiration.

How to use the Precious Memories Spine Die
Before you create the spine, make sure you know how many memory book pages you want to create so that you know how many slots you need on your spine.
You will need:
- Precious Memories Spine Die
Step 1
Die-cut the album spine from matt cardstock. This will give you the potential to use 6 pages as standard, but if you want to extend the album, you can cut another spine.
Step 2
To join two spines together, remove the very end section up to the first score from your first spine. From your second spine, start at one end and count in two lots of the double ‘x’ sections (this will give you the slots for 8 pages, but you could extend further, if you wish) and the one score space after, then trim the rest away. Glue the small score space from small spine section you have to the main spine section to create a larger album.
Step 3
Fold each of the score lines and burnish. Place red liner tape on one side of each ‘x’ section and adhere the other ‘x’ section to it. These will create your page points.
Step 4
Cut cardstock to 10.1cm x 15cm to create of your pages and adhere these to your page points. Cover each of your pages back and front with patterned papers. If you’re wanting to create pockets in the paper, this will need to be done first before adhering into position.
Step 5
Follow the instructions on the other Precious Memories Dies to create your interactive elements and organise your memory book to your liking.
Step 6
To finish the spine, cut a piece of matt cardstock to 10.1cm x 9cm. Score at 1.5cm and 7.5cm on the 9cm sides, and adhere the 1.5cm sections to the front and back of the album, leaving the central but loose to create the outer spine.
We hope that this little step-by-step has helped you with getting to grips with the Spine Die. It’s much easier to use than it looks, so you can always refer back to this post for help. You can also use the instructions printed on the packaging for guidance.
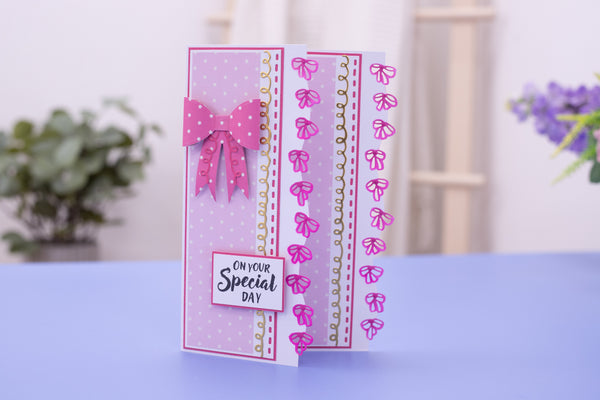
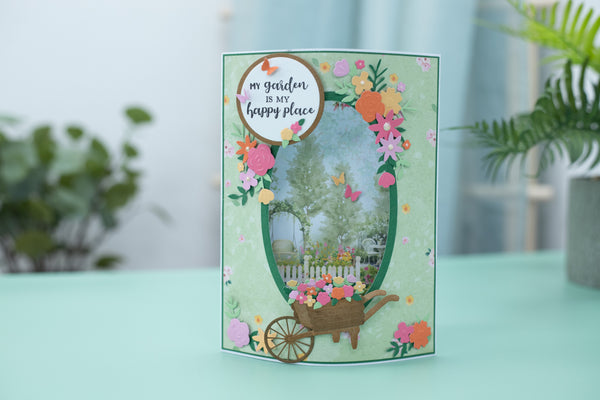
While the spine is pretty important, it’s also key to have some pretty pages to flick through, so take a look at this gallery to get a bit of inspiration!


We love the look of the waterfall pages, which feature pull tabs to flick through each photo, like a little gallery within the memory book. It’s such a fun way to display photos and everyone will love pulling the tabs to reveal the next image!


The Envelop Die is perfect for adding elements to hide secret photos, notes or trinkets. Just take a look at the ways that you can decorate them and make them your own with patterned papers, the elements dies and extra embellishments.


Twist and pop elements are extremely unique, and provide a really fun way to display photos, souvenirs and notes. When the page is opened, the gallery automatically twists and bursts out of the memory book. It’s such a fantastic effect and one you should definitely try!
There is so much more to discover from the Precious Memories Collection, so make sure you have a browse and discover all of the incredible page designs that you can achieve. We would absolutely love to see your finished memory books, so make sure you share your photos on Facebook, Twitter or Instagram using the hashtag #crafterscompanion. You could inspire someone else’s memory book!