Tutorial: Bendi Card
- Read time: 4 minutes
- Written by: admin

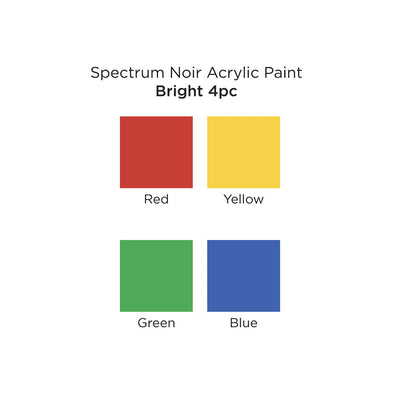
Supplies:


Directions:

Step 1: Cut your sheet of double sided A3 card, so that is measures 8” deep. The length is approx 16½” and should not be cut. Score your card at 5½” and 11” as shown in the picture. This will form the 3 panels for your card.

Step 2: Attach the cutting die of your choice to the middle section of your card, as shown in the picture. The die selected is slightly smaller than your card back and easily fits across the space available. The two side pieces are scored and cut at 4” deep. These can be cut where you desire and the depths of the two sides can be varied.

Step 3: Fold over the first side panel of your card and attach the die, on the diagonal. to your card. This will help to create the tab which will hold your card together. The deeper the angle of your die, the more tab you will create. Open out your card and carefully feed through your die cutting machine. Care should be taken, not to damage the die cut detail previously cut.

Step 4: This picture shows the die cut detail to the side of your card. The tab has been cut above the base of your card layer, so that it will easily fit into the slot that you will create in the back of your card to hold the side in place.

Step 5: Attach your cutting die to the second side of your card. Here the diagonal angle of the die has been increased, to create interest and tab detail for this side of your card. Open out your card and carefully feed through your die cutting machine. Again take care not to damage your previously die cut detail.

Step 6: This is a view of the back of this card showing die cut panel detail and the tab cut on the second side of the card. This has been shaped to fit into a slit you will create on the first side of your card.

Step 7: Curve the first side of your card gently, to create the bend. Decide where you wish to attach this to the back of your card.

Step 8: Cut a slit in the back of your card, where you wish to insert your side tab, using either your scissors or a scalpel. Insert your tab through the back of the card and fold in place. You may find it useful to fold your tab forward, rather than back, this will help create tension in your card front and hold the fold in place.

Step 9: Gently curve the second side of your card to create the bend. Decide where you wish to attach this fold on the front of your card. Cut a small slit on the first side of your card to fit the smaller tab on your second side. You can now decide whether you wish to be able to post the card flat and allow the tabs to be removed from the slits created or whether you wish to glue the tabs to the rear of the panels. If the tabs are glued, you can create a matching box for your card.

Step 10: Decorate your bendi card as desired. This card undecorated will be approx A5 in size and would fit appropriate envelope when posted flat. The card as shown decorated, is approx 8” x 8” when flat and would fit an appropriate sized envelope. If a presentation box was made for the card when in the ‘bendi’ format, the box would be approx 1½” deep.
Tip: Add a strip of double sided sticky tape to both of your bendi card tag folds. When the card is assembled, remove the coating strip and adhere your tag fold to the inside of your tag slits.