Tutorial: Using the Entwined Holly Die from my new Traditional Christmas Range!
- Read time: 2 minutes
- Written by: Sara.Davies
Hiya everybody! I’m back with another tutorial! Busy prepping for the shows so I thought I’d do another quick tutorial this before heading down to Hochanda for the ODS starting tonight at 8pm!
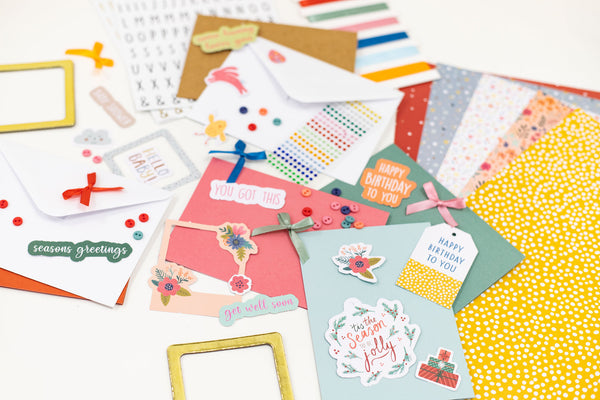
In this one I’ve used the gorgeous entwined Holly Die from my new range! They’re so easy to use and create such a fab affect! Like I said it my previous Christmas post…it’s time I got started making cards for friends, family and co-workers! Can’t wait!

Materials used:
Sara’s Traditional Christmas – Entwined Holly die, Festive Greeting, 6×6 paper pad, Ribbon….don’t worry I’ll pop all the links to these products once they’re live on the website so it’s easier for you! You can recreate this card….honestly..it’s so easy. Follow the steps below!
To Create
1. Create an A5 card blank using A3 white card. I always use the trusty Ultimate Pro to help me get the perfect fold! Die-cut Entwined Holly die into the front, right hand side of card blank. Again….now we’ve developed the fab Gemini machine…all these new dies are so intricate so you need a good machine to help you out!

2. While die is still in the card, transfer distress ink Forest moss through the die, then around the edges of card. You’ll be able to get a fab affect this way…and the ink will always wipe off the die so you won’t ruin it!

3. Trim some white resistant card from my new Traditional Christmas luxury A4 pad to fit the card blank. Next, using distress ink Forest moss, transfer over card, then glue to the front of the card.

4. Trim a sheet of co-ordinating paper to 3 3/4″ x 5 5/8″ , affix to the inside of card blank to give a gorgeous contrasting look! Plus….tartan is BIG at Christmas so you’ll be bang on trend!

5. Apply stick it to the back of green card, then die-cut the Merry Christmas sentiment, while the die is still in the card, transfer ink through the die…just like you did with the Entwined Holly die.

6. Glue the sentiment to front of the card then add ribbon and bow to finish…..who ever you send this card to at Christmas will be well and truly WOWED!

I hope you enjoy the shows tonight! I’m on at 8pm…then 9am and 12pm….Hazel will be taking over from 4pm..I can’t wait see what she does with these new dies and folders..she always thinks outside the box and I love it!
Let me know if you give this card a go! I’d love to see some photos!
Love, Sara xxxx