Inspirational Tutorial: Book folding
- Read time: 4 minutes
- Written by: CraftersCompanion
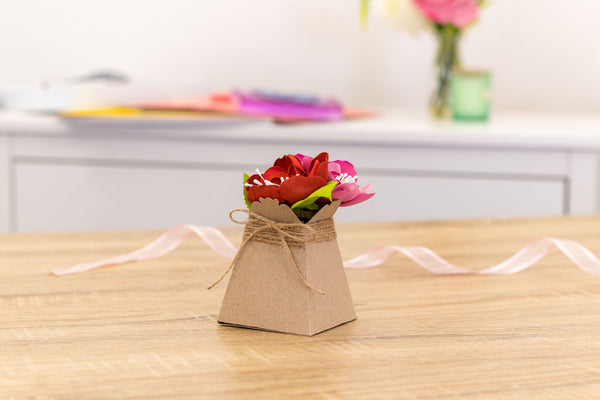
Looking to decorate a special book folding project? The Sara Signature English Country Garden flower dies give a beautiful floral dimension to this project. The flowers are perfect cascading down and create such a decorative feature. Designer Susanne shows you step by step how she made this beautiful project so you can make one too! Change the papers and make one for all occasions!

Directions:

Step 1: Using lavender pearlescent cardstock and paper, die cut and emboss a selection of flowers in all different sizes from the English Country Garden collection. Using both paper and card stock will give different effects to the petals of the flowers.

Step 2: Using a foam mat and a embossing ball tool, gently rub the petals of the flowers, turn the flower over and press the ball tool into the centre of the flower. Experiment with different flowers, the paper flowers will curl up more and you can create buds, and add several layers for maximum effect.

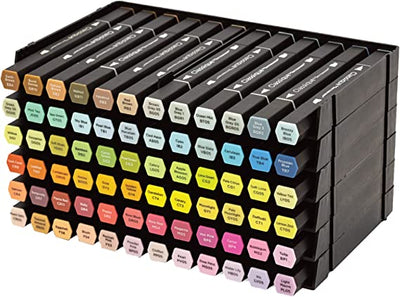
Step 3: To add more interest to the flowers, use a Spectrum Noir marker to take some of the flowers a shade darker. Susanne used the LV2 marker with the lavender card.

Step 4: Add dimension to the flowers by layering together a smaller flower on top of a larger flower with glue, don’t be afraid to bend the petals up a little to reshape. When the flower is dry add a pearl gem or crystal drops to the centre of the flower.

Step 5: Take the darker shade of patterned paper for the inside cover of the book. Depending on the size of the book, depends on how much paper will be needed. This book measured 20.5cms x 12.5cms. Therefore the paper was trimmed to just under 20cm x 12cm. The edges were distressed with distress ink, this is optional.

Step 6: Use a strong adhesive inside the front and back cover and apply the trimmed pattern paper.

Step 7: Cut approx. 30cm of white organza ribbon. Tie a knot in the centre of the length of ribbon. Attach one end of the ribbon ¾ of the way down the front cover of the book with strong glue. Make sure the knot sits below the centre of the word. Attach the ribbon to the back cover with strong glue.

Step 8: Measure the spine of the book and front and back cover. Using the lighter coloured patterned paper cut the three pieces to fit. Adhere all three pieces to the outside of the book.
Step 9: Make a bow with the remaining organza ribbon. The bow in the project was made using the bow maker on the ultimate pro. Attach the bow to the knot.
Step 10: Starting at the top spine of the project, place the largest flowers first and work down to the word, just placing them will enable you to move the flowers around until you are happy with how the flowers cascade. Attach flowers to the book with strong adhesive.
Step 11: Decorate the front and back of the book by cutting two Die’sire Art Deco Create-a-Card die cuts from mirror card. These were then trimmed close to the edge to fit the length of the book. An optional piece of vellum was attached to the die cut on the back of the book to highlight the flowers from the background. Die cut the Happy Birthday sentiment from mirror card and attach with glue to the front cover. Use some left over flowers to create a small bouquet above the sentiment. Attach the vellum/mirror diecut to the middle back of the book and add a few more flowers within the ‘Art Deco’ die cut for added interest.
We would love to see what you make! Share your projects and cards with us on our Facebook page, tag us on Instagram(#crafterscompanion), on Pinterest (@CraftersCompUK) or on Twitter (@CraftersCompUK)!
We also hold book folding classes at both of our stores. Click here to look for classes at the Aycliffe store and here for book folding classes at our Chesterfield store.