Which paper or cardstock is best for my project?
- Read time: 8 minutes
- Written by: Crafters
When it comes to selecting card or paper for your project, it can be a little bit of a minefield. There’s a huge number of different finishes, weights and properties that can factor in, and deciding which pack to buy can be difficult! Don’t worry, we’ve all been there, so to help you decide which card or paper is best for your next project, we’ve put together this handy post!
We’re going to break down the info into each craft technique, so if there’s a particular area that you want to look at, like die-cutting or embossing, you can quickly scroll to the info that you need.
Understanding weights
Before we launch into each technique, it’s vital to get to grips with card and paper weights. This is measured in GSM, which stands for ‘grams per square metre’, so the higher the GSM, the heavier the card or paper. Paper is usually on the lighter end of the scale, roughly between 70GSM – 100GSM (45lbs – 70lbs text weight), and anything above that tends to be cardstock.
Understanding finishes
As well as weights, there are also a ton of different finishes to take into consideration. These include:
Plain – this is completely smooth and untextured in a variety of colours. This tends to be the type of finish that you’d use in a printer or as a card base
Super smooth – if you want a bleed-free base, this is the finish for you!
Mirror – as the name suggests, this is a shiny, metallic finish that’s ideal for adding a touch of glamour to your projects
Glitter – add a touch of sparkle to your projects with glitter cardstock
Pearl – pearlescent card has a stunning lustre that truly shines in the light
Patterned – we all know how tempting those pads of papers are (hands up, who’s got a super pretty one that they’re never going to use?) and these are ideal for a whole host of projects
Foiled – foiled card or paper usually features a plain base with stunning foiled details or patterns
Kraft – this cardstock has a rough finish and a natural brown colour. It’s made from recycled paper, so it’s a brilliant, environmentally-friendly option

Die-cutting
Depending on how sharp or deep your dies are, we recommend using paper or cardstock up to 310GSM. This is a fairly thick cardstock, but anything up to that weight should easily be cut by your favourite dies. For dies with very fine details, your best friend will be cardstock at around 220GSM (or around 80lbs cover weight).
With die-cutting, there’s absolutely no limit on the type of finish that you can use – anything goes, pretty much! One of our favourites to use is the 8″ x 8″ Textured Cardstock (230GSM/90lbs cover weight), which has a slightly rough finish, adding a touch of fun to your die-cut details. If you’d like a bit of luxury, we recommend the Centura Pearl Snow White Hint of Gold Cardstock (310GSM/115lbs cover weight).
The world is totally your oyster if die-cutting is your chosen technique, so explore our range of paper and cardstock, and see what takes your fancy!
Embossing
For embossing, you want to use card that’s sturdy enough to hold the shape of your design, particularly if you want to do some 3D embossing. Thin paper just won’t have enough body and could even get damaged, so we recommend using cardstock between 220GSM – 280GSM (80lbs – 110lbs cover weight).
Much like die-cutting, there aren’t too many finishes that won’t work with embossing, and we especially love the way that pearl card looks with embossed details. Try out the Sara Signature Vintage Lace Luxury Pearl Card (250GSM/92lbs cover weight) for pretty pastel looks or our Kraft Cardstock (280GSM/110lbs cover weight) for rustic projects.

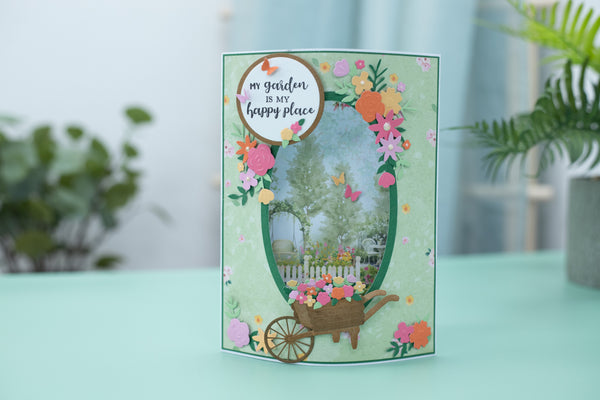
Decoupage
With decoupage, you should usually use the thinnest paper possible to ensure a lovely flush finish, if you want to build your designs for a 3D effect, we recommend any of our patterned papers. We’ve got a huge stock of paper pads for you to choose from, but we love the Nature’s Garden Fairy Garden pad for fun spring looks. If you’d like a bit more information on how to decoupage, take a look at our blog post!
Stamping
For stamping, you want a bleed-free finish to ensure the crispest impression possible. This means that you’ll need smooth card, as this card has been designed specifically for crisp stamping and printing.
Smooth card is available in a whole variety of shades, but we have smooth card that is perfect! The A4 White Stamping Card is ideal for stamping (as the name would suggest), but at 300GSM (or 110lbs cover weight), it’s also great for die-cutting. You could pair it up with any of your stamp and die sets for the ultimate precision! You can also try out the Craft UK Smooth Card (300GSM/110lbs cover weight) for that sensational stamped look.
Scoring or creating card bases
Scoring is an essential part of creating a card base because it helps to prevent cracking when folding. Of course, there is an easy option of buying pre-made card bases, but where’s the fun in that?
Hunkydory do a fabulous range of Adorable Scorable card, which has been designed to prevent cracking, even with the deepest of scores. This makes it ideal for making card bases, but also for box making, gift bags and so much more! At 350GSM (or 130lbs cover weight), it’s super sturdy, so you know that it will hold its shape and last through any sort of decoration technique.

Foiling
Heat foiling is a fabulous technique that can be used across a variety of materials, including fabric, faux leather, acetate and so much more, so technically, you can foil on pretty much any paper or cardstock and have fantastic results. However, you’ll find that the best and most luxurious results come from using a smooth cardstock.
Again, the White Stamping Card would be perfect for this and will offer you a super crisp finish to your foiled design, but like die-cutting, the world is your oyster!
We love the way that foiling looks on Matt Mirror Card because it gives such a stunning contrast. It’s a fabulous technique for invitations, cards and stationery, so if you’re looking to do some foiling, experiment and see what works best for you.
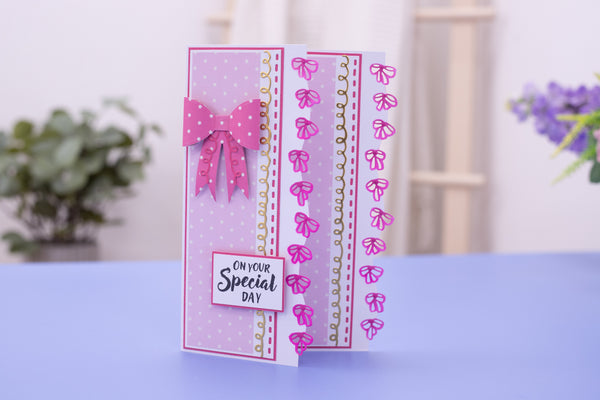
Quilling
Pinterest-worthy and super trendy, quilling is a ridiculously popular technique at the moment, and it’s not hard to see why! Swirling the paper around the quilling tool to form 3D elements is just so satisfying, but it’s important that you never use card. It would be far too bulky to get a tight spiral, so we recommend using paperstock at around 130GSM.
We stock strips specifically for quilling at this weight, but if you want to create your own, we stock a beautiful pad of 120GSM papers from Paper Boutique which would work beautifully for quilled flowers (80lbs text weight).

Matting and layering
Matting and layering is a technique that almost all cardmakers will be familiar with, and it’s possibly the most versatile in this list. To create those fun, step-effect layers, you can use pretty much any cardstock that you like. Paper may be too thin, but card in a variety of finishes would be perfect!
You can try using glitter, mirror, pearl, matt or any card that you like to get your desired effect. Our paper and card section is absolutely packed with a range of weights and finishes, so make sure you check it out to find the perfect card for your next mat and layer.
We really hope that we’ve covered enough techniques to help you out with your next project, but if you think there’s something that we missed, make sure you tell us! We’d love to extend this post to help as many people as possible, so let us know on Facebook UK, Facebook USA, Twitter, Instagram UK, Instagram US, Pinterest UK or Pinterest US using the hashtag #crafterscompanion.