A beginner's guide to card making
- Read time: 8 minutes
- Written by: Crafters
In a world that is becoming increasingly more digitalised, sometimes you want to give your loved ones something a little more meaningful. What could be better than a card made by hand, with love?
Card making is a challenging, fun, and enjoyable hobby that has many different uses and is perfect for any occasion (or even just because). Guaranteed to charm the socks off anyone in your life, learn all about the basics of card making with our handy beginner’s guide. From card making kits to card making supplies, we’ll go over the basics to help you get started.
What is card making?
Card making is a challenging, fun, and enjoyable hobby that has many different uses and is perfect for any occasion (or even just because). Guaranteed to charm the socks off anyone in your life, learn all about the basics of with our handy Crafter's Companion Beginner’s Guide. From card making kits to card making supplies, we’ll go over the basics to help you get started.
Making greeting cards isn’t a modern craft and dates back hundreds of years, however with modern technology, card making has become more detailed and intricate than ever before.
What tools are needed for card making?
There are a number of different tools and supplies you need to make your own cards. Some are essential tools you’ll need to get started straight away but others are optional and can be purchased when you want to try new craft techniques.
Tools
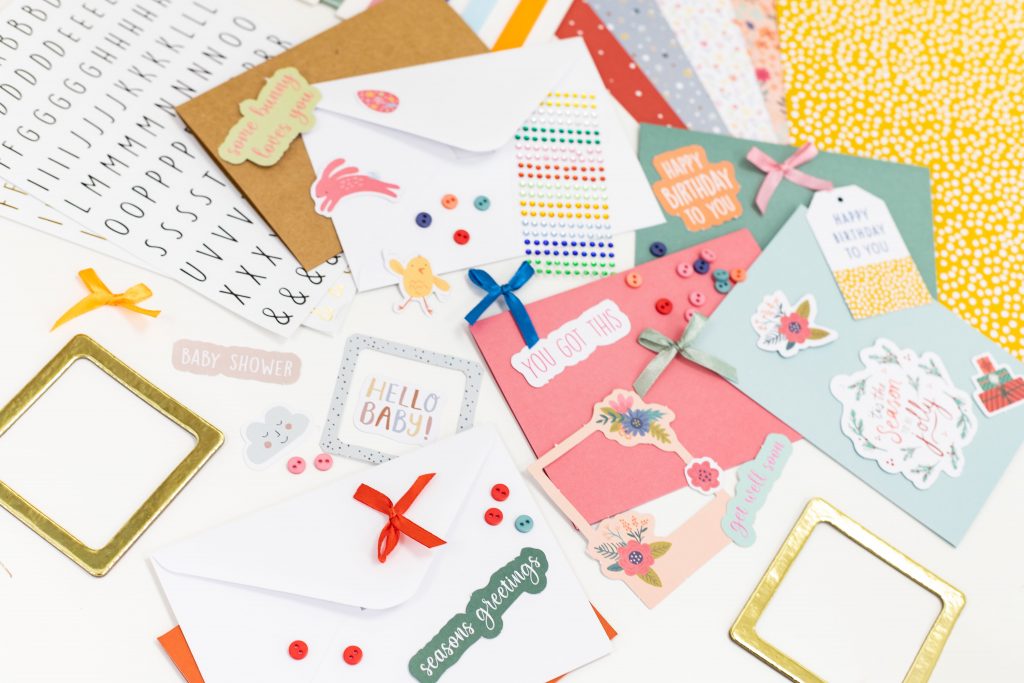
Card stock: Available in hundreds of different colours and designs, cardstock is what you’ll use as the base of your design so is definitely an essential. There are different colours and thicknesses of cardstock depending on your preferences and the amount of detail you’ll be applying to it. You can choose a sheet to cut to size yourself or opt for ready-made blank cards to embellish as you please.
Adhesives: From glue and tape pens to foam pads and decorative washi tape, you’re going to need adhesives to stick your designs and embellishments to your creation.
Cutting tools: Just like with adhesives, there are many types of cutting tools to choose from. Scissors and guillotines will enable you to get a nice clean, straight edge for your card bases. Craft knives and precision scissors will help you cut delicate and detailed, decorative elements.
The cutting tools you use will depend on your personal preference so you may want to try a few different types! Make sure to pick up a cutting mat if you’re going to be using craft knives or to protect your surface!
Die-cutting Machines: Die cutting machines are a fast and easy way to cut out intricate shapes, words and patterns that would otherwise take you hours to create. Using a die cutting machine will add a custom and professional finish to home-made card creations and are a great next-step in your journey. Find out more about die-cutting in our handy guide.
Designing your card
Undoubtedly the best part of card making is the ability to design, decorate and create your own personalised card for any occasion. And there are all kinds of crafting tools you can pick up to make this happen!
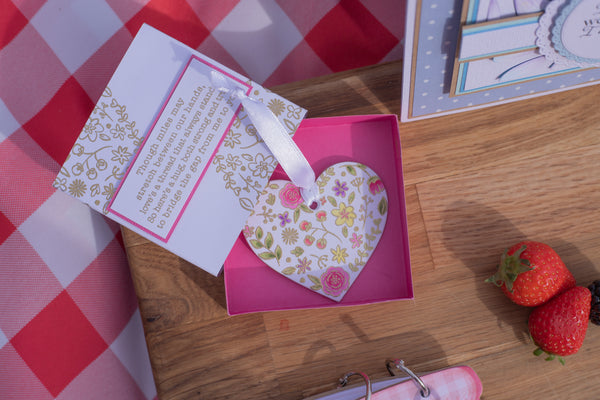
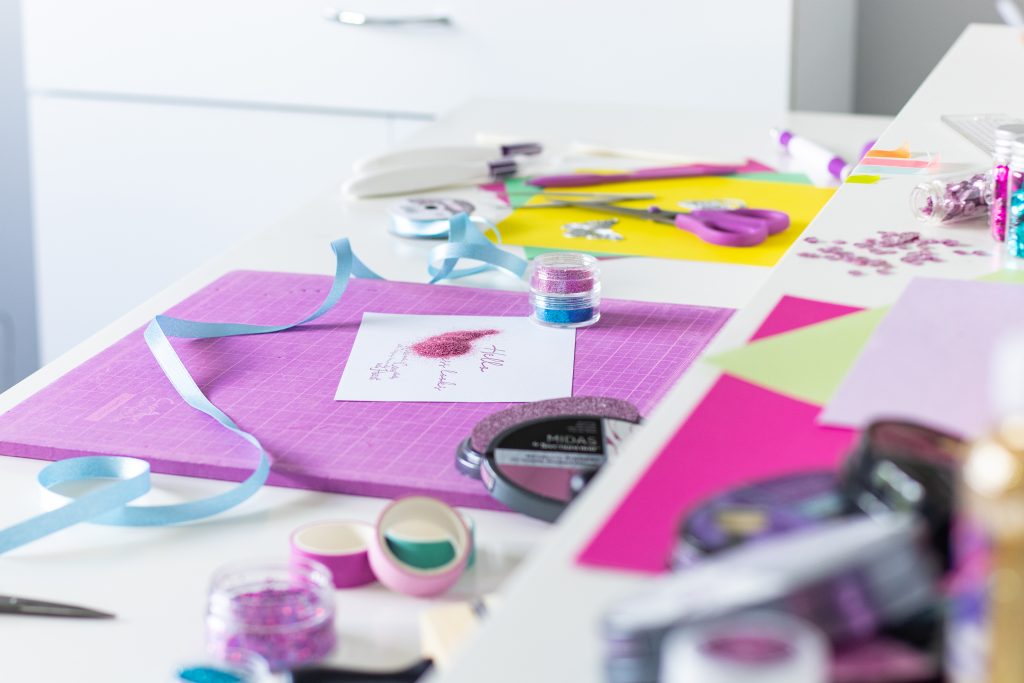
Stamps and inks to create impressive messages and designs, stencils to make lovely repeating patterns and markers in a multitude of colours and effects are just a few of the ways you can craft a beautiful centrepiece. And from ribbon and glitter to 3D flowers and stick-on gems, there are also hundreds of embellishments to add the perfect finishing touch to your decorated card.
If you’re looking for something impressive but low effort, a card making kit might be for you. These kits often include blank cards ready to be decorated alongside die-cut pieces, frames, embellishments and patterned paper ready to be layered up to create something unique and special! They’re one of the easiest ways to start as they give you that wonderful feeling of accomplishment without a large monetary investment.

OLYMPUS DIGITAL CAMERA
How do you make a card for beginners?
The world of card making is incredibly versatile -there are so many different tools and techniques for you to try! To a beginner all of this choice can seem a bit overwhelming, we get it! So don’t worry, to get you started here’s how to make the most beautiful and heartfelt cards with just some cardstock, stamps, ink, and pens.
Step 1: The occasion
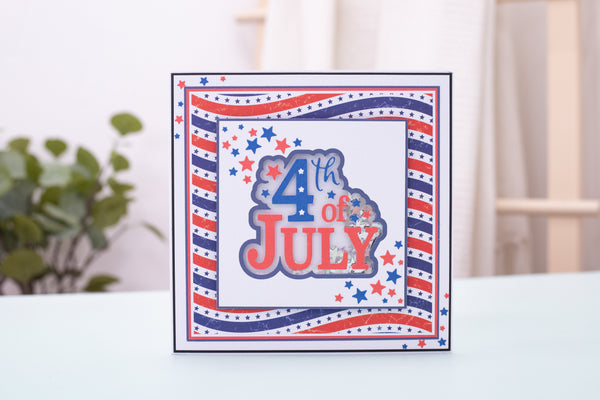
The first step is to decide on the occasion. Is it for a birthday or are you Christmas card making? The event may dictate the colour of cardstock you want to use, the images and words that will go on it, and may also influence the layout of your card.
Step 2: The layout
Once you’ve come up with your theme, found your colour scheme and chosen your cardstock you need to decide on layout and design. Whether you’re using a pack of blank cards, a card making kit, or you’re starting with a flat piece of cardstock deciding how yours will look in advance is an important step that will help to avoid mistakes in the future.
Work out whether it will be landscape or portrait in orientation and then gather your supplies and work out the items you want to use. If you’re using lots of elements such as frames, paper pieces and embellishments, layer them up in the rough design you want before committing and gluing anything down.

Step 3: Creating your card design
For a complete beginner, one of the easiest options when creating your centrepiece is to use a stamp and ink. Stamping supplies can be found in a multitude of different designs and are the perfect, versatile way to begin your card making journey. Even simple black ink can be used to create a lovely design so you don’t have to invest in loads of different colours just yet (unless you want to of course).
All you have to do is stamp your image and words (also known as a sentiment) onto your card. A really good tool for beginner crafters is a stamping platform. You can use this inexpensive and accessible tool with any clear acrylic stamp. Simply use the grid to line up your stamp perfectly and simply press down onto your card for a perfect, smudge-free finish!
Finally, once the ink is dry, you can complete your card by using markers or coloured pencils to colour in your design.
An easy and effective way to add more interest is to stamp your sentiment or design onto a separate, different coloured piece of card or paper before cutting it out and gluing it onto the card. This looks neat and professional, and has the added benefit of allowing you to experiment with different stamps and designs without committing or worrying about making mistakes. For more hints and advice, check out our Beginner’s Guide to Stamping.

Step 4: The finishing touches
If you are a crafty person you may already have a collection of materials you can use to decorate your card. Things like tissue and decorative paper, fabric, sequins, buttons, and other bits and bobs you have used for other projects are great and you can really get creative.
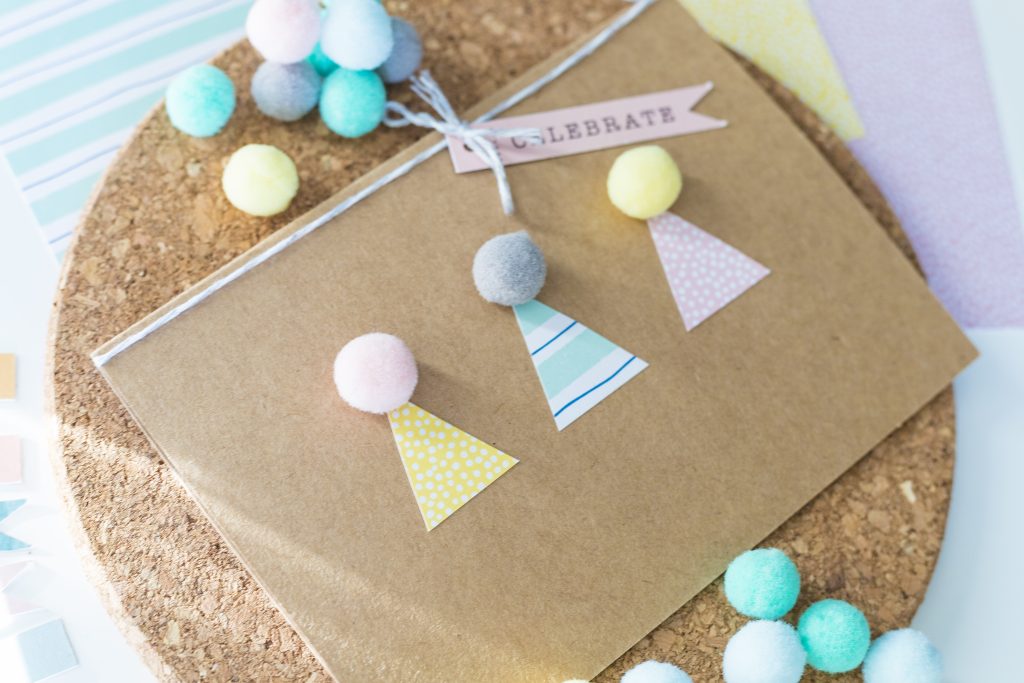
Why not add some shimmer with glitter and sequins, or go wild with 3D decorations such as fluffy pom poms, tassels, or ribbon bows - there are so many embellishments to try.

Congratulations - you just made your first card! Let it dry fully before writing out your message, popping it in an envelope, and sending it off to the lucky recipient.