How to craft a delicate gift box with the Gemini
- Read time: 3 minutes
- Written by: Crafter's Companion
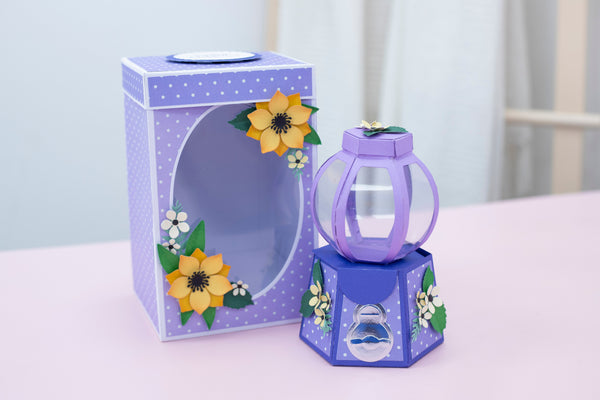
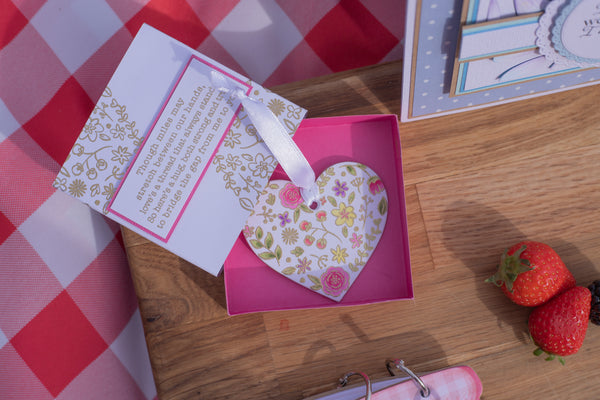
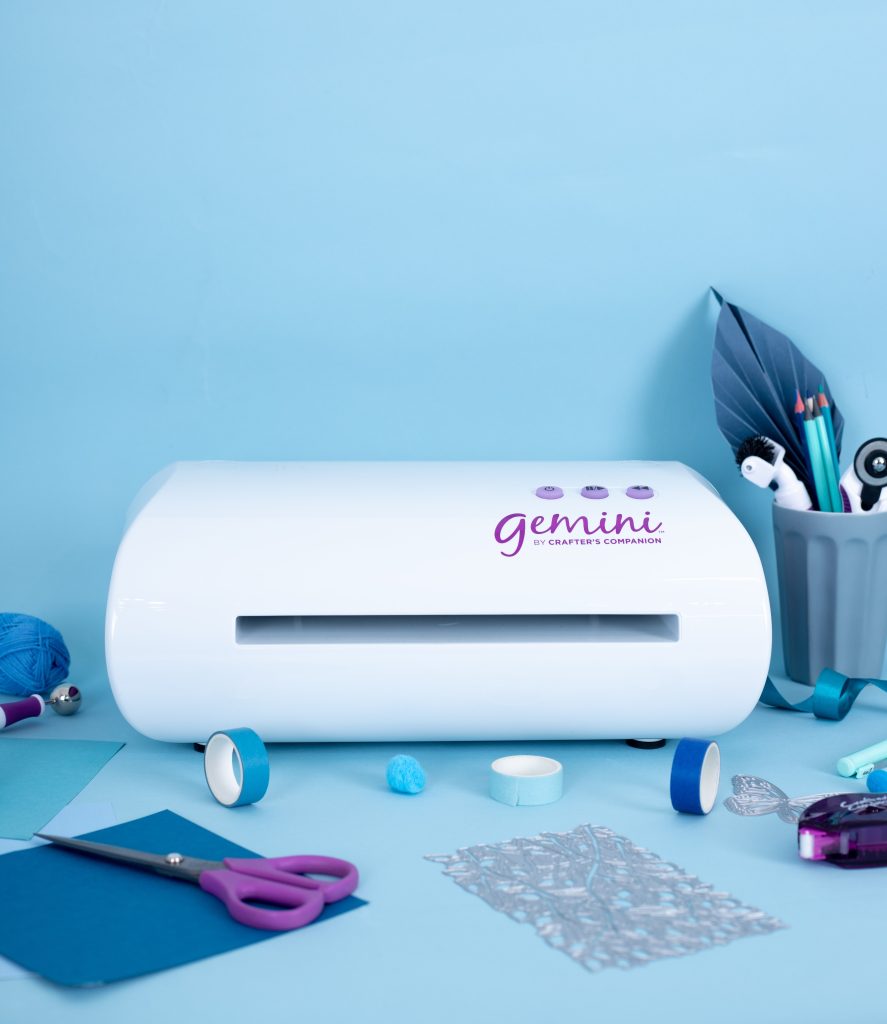
Give more with your gifts by crafting a home-made presentation box! With the Gemini die cutting machine, building and decorating customised and intricate box designs is so easy.
To get started all you have to do is follow our handy guide to crafting this delicate and pretty gift box. Once you have the basics mastered, follow your own creativity to design and craft your own beautiful gift boxes!
This beautiful craft project and step-by-step guide has been created by one of our own talented team members! You may have seen Lilly Fletcher crafting away on Crafter’s TV, she also works hard behind the scenes as a Crafter’s Companion team member!

You will need:
☆ Gemini Modern Edge’ables die – Woodland Fairy
☆ Centura Pearl Hint of Silver Card
☆ Crafter’s Companion Matt Black Card
☆ Crafter’s Companion Silver Glitter Card
☆ 12” x 12” patterned paper pad
☆ Nitwit Kindly Thoughts 8” x 8” vellum pad
☆ Crafter’s Companion card front colouring pads – Spiritually Wild
☆ Scissors or paper trimmer
☆ Ruler
Step-by-step instructions:
1. To create your box sides, cut a piece of silver card to measure 16.5” x 8”. Score at 4”, 8”, 12”, 16” and 1” from the bottom. Glue along the 1” tab to join the sides in one continuous piece.
2.Cut another piece of silver card to measure 4” x 4” – this will form your box base.
3. Glue the base to the box sides along the tabs.
4. Time to make the lid! Cut out another piece of silver card to measure 6 ⅛” x 6 ⅛”. Score at 0.5” on all four sides, fold into a box lid shape.
5. Now to create the stepped frame effect known as matting. Cut out a piece of silver glitter card to measure 3.75” x 3.75”, a piece of black card to measure 3.5” x 3.5” and a piece of patterned paper to measure 3.25” x 3.25”. Layer up with the smallest on top, stick together and attach to the top of your box lid.
6. For this step we’ll repeat the matting and layering process for three sides of the box. Cut out three pieces of silver glitter card measuring 7.25” x 3.75”, three piece of black card measuring 7” x 3.5” and three pieces of patterned paper measuring 6.75” x 3.25”. Layer up, stick together and attach to three of the box sides to create a stepped effect.
7. Follow the instruction manual with your Gemini Die Cutting machine to create the plate combination to die cut the Woodland Fairy design into the side of the box left blank.
8. Repeat the process to die cut the fairy design into black card, layer behind the die cut box panel, moving it slightly out to create a shadow effect.
9. Cut a piece of vellum to fit behind the die cut panel and glue into place. Cut a piece of blue paper measuring 7.25” x 3.75” and cut a 0.25” frame all the way around. Glue in place to frame the die cut fairy panel.
10. Take a pre-cut sentiment from the Spiritually Wild set and attach to the box using foam pads. If you like, you can cut out the same shape from black card, around 0.25” larger and layer behind for a matted and layered effect. Stick four gems to the box lid to finish!


We can’t wait to see your finished makes! So, don’t forget to show us your Gemini machine creations on Facebook UK, Facebook USA, Twitter, Instagram UK, Instagram US, Pinterest UK or Pinterest US using the hashtag #crafterscompanion