How to use Gemini Paper Piecing Dies
- Read time: 3 minutes
- Written by: Crafter's Companion
If you’re a keen papercrafter looking to take your cardmaking to the next level, we have just the thing you can try!
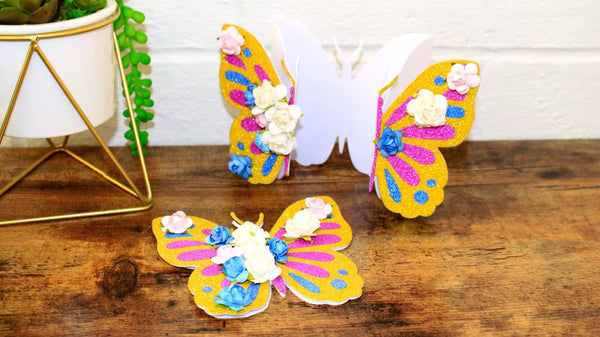
Paper piecing is a fantastic technique that can bring your projects to life, by die-cutting small, intricate pieces and adding them together to create a unique and detailed outline. This can be time-consuming and often tricky if you’re not a crafting professional, but with the Gemini Create-a-Card Paper Piecing Dies from Crafter’s Companion, you can forget your worries and achieve perfectly cut outlines in minutes.
Follow along with our guide below to create your own detailed card.
You will need:
- Gemini Paper Create-a-Card Paper Piecing Die Set
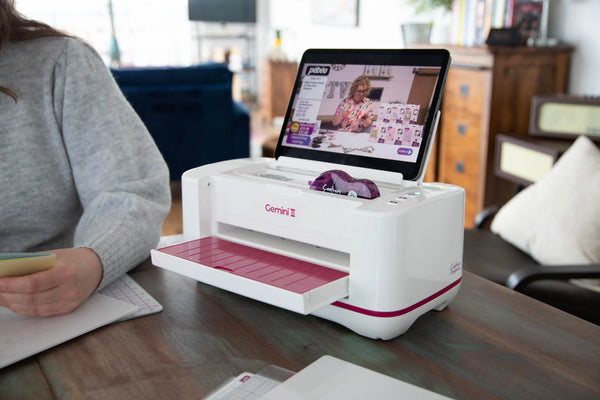
- Gemini Die Cutting and Embossing Machine
- Gemini Magnetic Shim
- 2pc black multi-purpose Card
- Crafters Companion Double-Sided Adhesive Sheets
- 3pc coloured multi-purpose card (we’ve used 2 different shades of pink and green)
- Crafter’s Companion Tape Pen
- Collall All Purpose Glue
- Crafter’s Companion Pokey Tool
- Crafters Companion – Precision Tweezers
- Crafters Companion Clear Acetate
- Spectrum Noir Tri-Blend Markers (optional)

Creating your outline
- Open your Create-a-Card pack. You should have 2 metal dies including 1 thin outer rectangle border and one patterned inner rectangle.
- Place both dies inside of each other and secure these onto your Gemini Magnetic Shim. Take a sheet of black multi-purpose card measuring 7 x 5” and place it on top of your dies then run it through your die-cutting machine.
- Take the cut-out border and place this to one side. Grab a 7 x 5” piece of coloured multi-purpose card and a double-sided adhesive sheet of the same size, adhere the sheet to the card and using the same cutting combination as before, pass this through your machine.
- Repeat this a further two times with two different coloured pieces of card. With these three pieces, keep the inner die-cut pieces and peel away the outer border.
- Bring back your original black cut-out piece and cover the back of this with your tape pen. Stick this to a piece of clear acetate measuring 8 x 6” so you have a clear window in the centre.
Piecing your flowers together
- Take your pokey tool and precision tweezers, along with your 3 multi-coloured die-cut pieces and glue.
- Place the glue over each individual cut-out part on your acetate window. With your tweezers, choose the same piece from your coloured card of choice and stick this into place on the acetate, using your pokey took for any difficult-to-peel parts. You can get creative with this bit, depending on the colours you’ve chosen! We’ve used our green sheet for the leaves and two shades of pink to create an ombre effect on the roses.
- To bring your florals to life even more, use Spectrum Noir Tri-Blend Markers and add shading and definition to your leaves and petals.
The centre of your card is now complete! Add a border, back piece and glitter to create a shaker card or stick to the front of a plain card for a simple floral design. Your options are endless!
We love to see what you’ve been creating! Share with us on social media by using the hashtag #crafterscompanion, or tag us on Facebook, Instagram, LinkedIn, or TikTok