Stamping and inkpads 101
- Read time: 4 minutes
- Written by: Crafter's Companion
Stamping has been a craft discipline for years and it’s something that is loved by both adults and children. Who else remembers cutting shapes into apples or potatoes and creating splodgy paint patterns with them? But there’s actually a lot of products on the market and techniques to learn when it comes to stamping, so we’ve put together this handy guide to help you get the most out of your stamp stash!
We also thought that it was only right to include information about inkpads and how to use them, so if you’re looking to make a lasting impression, keep reading!

The stamps
Stamps generally come in two types – rubber and acrylic.
Rubber – rubber stamps are made using high temperatures, which means that they’re very durable and suitable for use in more advanced techniques which involve heat.
Acrylic – acrylic stamps are made with a sheet of clear polymer or vinyl. They have some benefits, such as the ability to see exactly where you’re stamping for precision, but image quality tends not to be quite as good as rubber and acrylic stamps can stain easily.

The technique
We’re huge fans of our Rock-a-Blocks here at Crafter’s Companion. They’re specially designed blocks with a curved surface to give an even amount of pressure across the complete surface of the stamp.
Begin by adhering your rubber stamp to the block using a glue stick or our Stick & Spray repositionable adhesive. Next apply the ink to the stamp, getting plenty of ink onto the surface.
Next take the Rock-a-Block to the paper, rest it heel down on the paper and rock it heel to toe to get a great impression!
You can also use our amazing Stamping Platforms to apply even pressure for a highly detailed image. Take a look at the video below to watch one in action!
The inkpads
There are so many different types of inkpads available, which can sometimes make things a bit confusing, but the most versatile pad for getting started is your basic black pad.
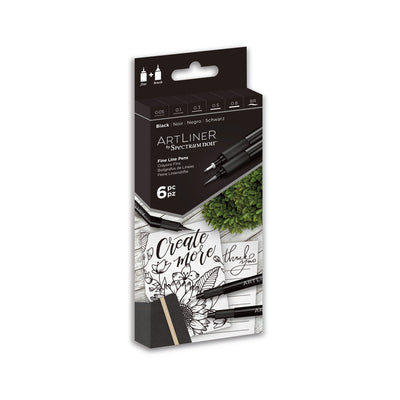
Dye-based inkpads, such as the Spectrum Noir Water Reactive Dye Inkpads, give a clear image and don’t dry very quickly, so if you’re keen to finish your project, you may need a special heat tool to avoid smearing.
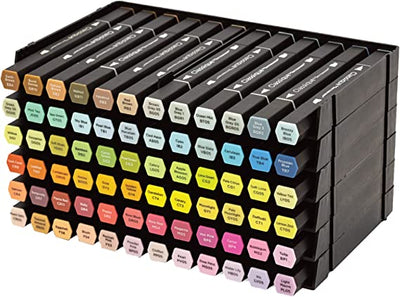
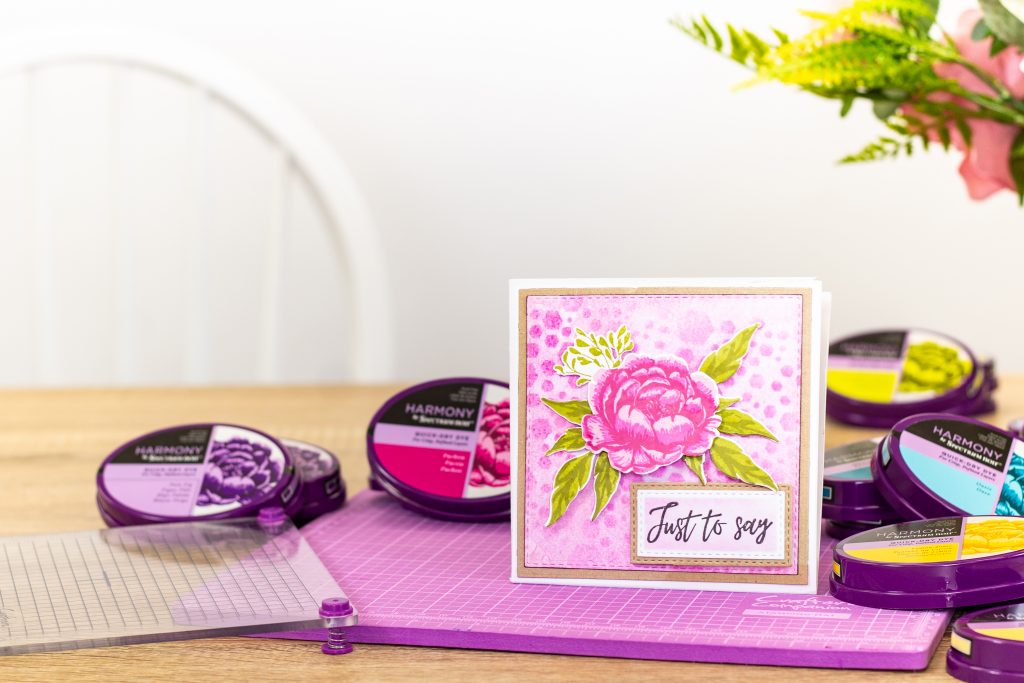
There’s a wide variety of other Spectrum Noir Inkpads on offer too, like the Quick Dry Dye, which are ideal for layering, thanks to their short drying time, or the Finesse Alcohol-Proof, which are perfect for crisp images that jump off the page.
If you’re looking for a more unusual effect, you can try out the Tim Holtz Distress Inks, which will give your stamped images an aged, distressed look.
Stamping accessories and storage
If you’re not confident with inking your stamp directly from a pad, we sell a number of ink rollers.
The Crafter’s Companion EZMount storage system is a great way to store your stamps. Just cut your stamp to size using craft scissors and stick your stamps to an acrylic storage panel using repositionable adhesive.
Once you’ve finished using your stamps, it’s important to clean them. You can use water or a baby wipe for this, but for a deeper clean, take a look at our selection of stamp cleaners. Make sure that the cleaner you pick is for the ink type that you’ve used (water-based, pigment etc).

Heat embossing
Heat embossing is a technique which allows you to give your stamped images depth. Stamp an image using clear embossing ink, such the Spectrum Noir Watermark, then cover the stamped image with embossing powder. Tap off any excess powder.
Use a heat gun to melt the embossing powder. TOP TIP – heating the surface from underneath minimises the amount of embossing powder blowing around!
When the powder looks glossy, it means that your embossing is done. If you find that your embossing cracks, heat the powder for less time next time. If your embossing is uneven, you need more heat.

We hope that this handy guide has helped you with understanding your stamps a little better and given you some inspiration! We’d love to see your collection and any of your creations, so please tag us in your photos on Facebook, Twitter or Instagram using the hashtag #crafterscompanion.